
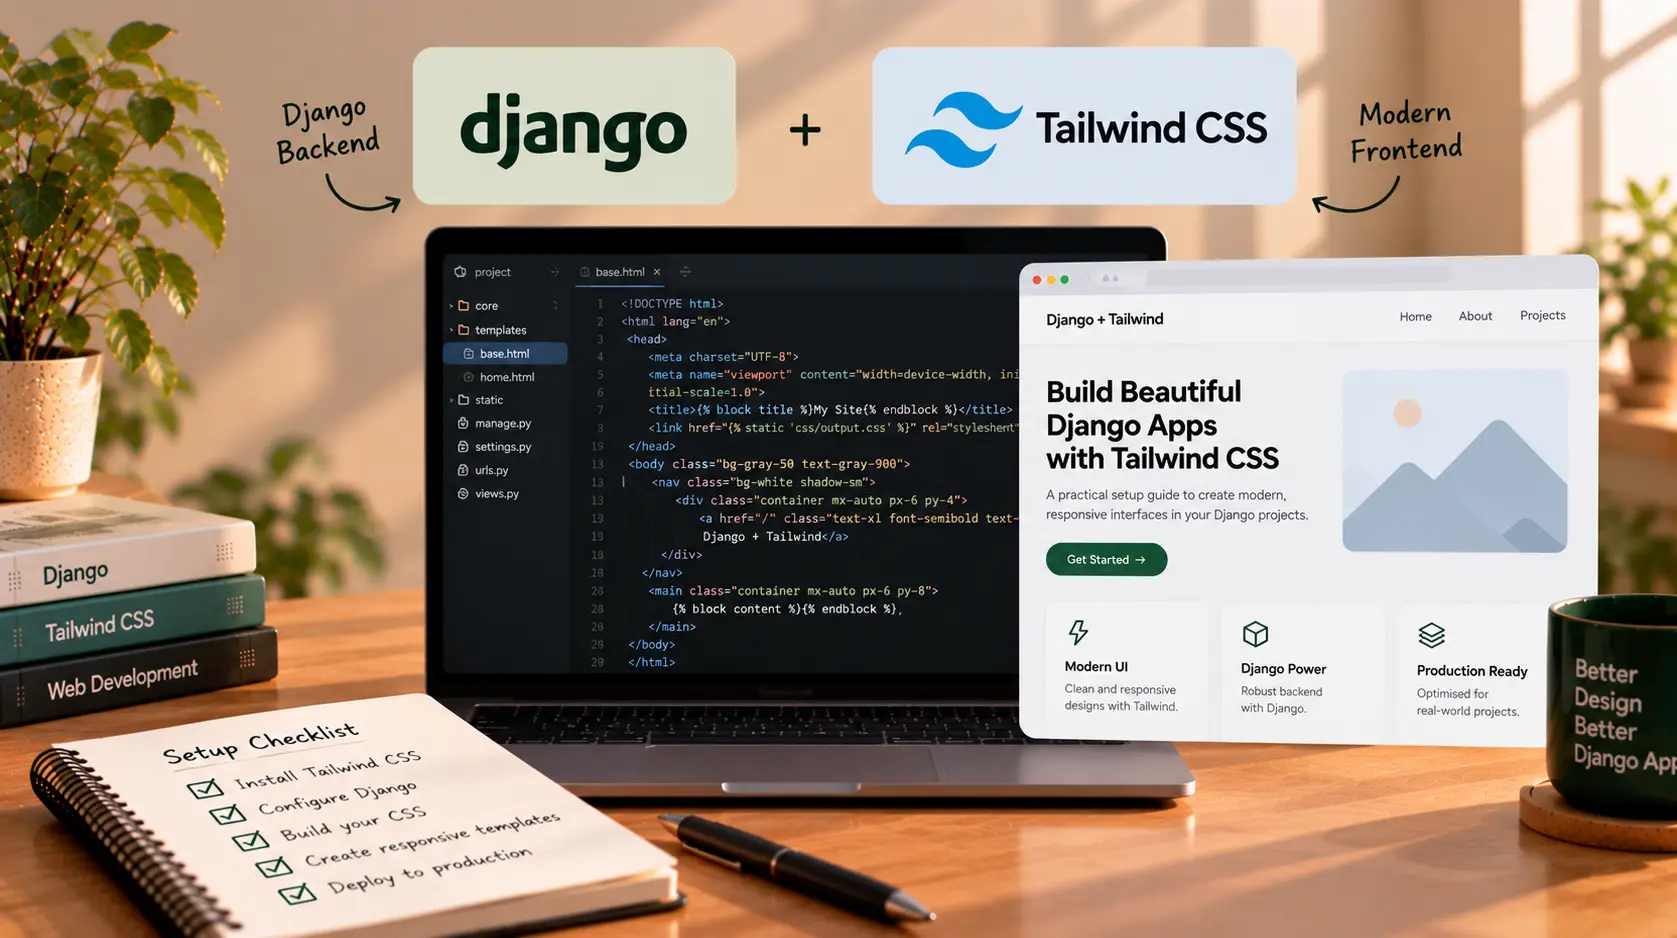
Using Tailwind CSS With Django: A Practical Setup Guide
Django gives you a dependable foundation for building web applications, while Tailwind CSS helps you style interfaces using small, composable utility classes directly in your templates. Used together, they can make it easier to build responsive dashboards, admin-style interfaces, landing pages, and customer portals without maintaining a large collection of one-off CSS rules.
The key is to connect Django's template and static-file workflow to Tailwind's CSS build process. This guide walks through a practical setup using Django-Tailwind, a package designed to integrate Tailwind CSS into Django projects.
Version note: The steps below follow the current Django-Tailwind documentation and Tailwind CSS v4 workflow. If your project already uses Tailwind v3, don't mix v3 configuration instructions with v4 instructions; use the documentation that matches your installed version.
What are Django and Tailwind CSS?
Django is a Python web framework used to build the server-side parts of an application: URL routing, views, models, authentication, forms, and template rendering.
Tailwind CSS is a utility-first CSS framework. Instead of writing a separate CSS rule for every small design decision, you apply utility classes in your HTML, such as flex, p-6, rounded-xl, or text-lg. Tailwind scans your source files for class names and generates a stylesheet containing the styles your project uses.
Django-Tailwind connects the two workflows. It creates a dedicated theme app for Tailwind's source CSS and build configuration, while your existing Django apps can continue to own their models, views, URLs, and templates.
Why use Tailwind CSS with Django?
- Faster UI iteration: adjust spacing, colours, typography, and layout directly in templates.
- Responsive layouts: use breakpoint utilities to adapt pages to smaller screens.
- Consistent design: reuse the same spacing, colour, and component conventions across pages.
- Less custom CSS for common patterns: many everyday layout decisions can be expressed with utility classes.
- Works with Django templates: you can keep Django's server-rendered approach instead of introducing a separate frontend framework just to style pages.
Tailwind is not a replacement for Django, and it doesn't add backend functionality. It handles styling; Django still handles application logic and data.
Before you start
Make sure you have:
- Python and a working Django project.
- A terminal opened in the directory containing
manage.py. - A virtual environment activated.
- A project template such as
base.htmlthat child templates can extend. - A clear idea of whether you want the current Tailwind v4 workflow or need to maintain an existing v3 project.
For the npm-based setup, Django-Tailwind's current documentation specifies Node.js 22 or newer. Its standalone-binary option can avoid a separate Node.js installation. Check the official installation guide for the requirements that match your chosen mode.
Step 1: Install Django-Tailwind
Activate your virtual environment and install Django-Tailwind.
For a development setup with helper packages for initialising the theme app and running development processes together:
python -m pip install "django-tailwind[cookiecutter,honcho,reload]"
If you only need the core package, the simpler install is:
python -m pip install django-tailwind
The extras are useful for the documented setup workflow. In particular, the cookiecutter extra is needed for the tailwind init command, while the development extras provide additional convenience.
Step 2: Add Tailwind to Django settings
Open your project's settings.py and add tailwind to INSTALLED_APPS:
INSTALLED_APPS = [
    # Django's built-in apps...
    "django.contrib.admin",
    "django.contrib.auth",
    "django.contrib.contenttypes",
    "django.contrib.sessions",
    "django.contrib.messages",
    "django.contrib.staticfiles",

    # Your existing apps...
    "tailwind",
]
Keep your project's existing apps and middleware. The snippet above shows where the new app belongs; it is not intended to replace your current settings.
Step 3: Create a theme app
Run this from the directory containing manage.py:
python manage.py tailwind init
When prompted, choose a name for the theme app. The default and common choice is theme. Choose the Tailwind version and installation mode that fit your project; for a new setup, follow the current v4 options documented by Django-Tailwind.
Add the generated app to INSTALLED_APPS:
INSTALLED_APPS = [
    # Existing Django apps...
    "django.contrib.staticfiles",
    "tailwind",
    "theme",
]
Then configure Django-Tailwind to use that app:
TAILWIND_APP_NAME = "theme"
If you named the app something else, use that exact name in TAILWIND_APP_NAME.
Step 4: Install Tailwind's dependencies
Run:
python manage.py tailwind install
This prepares the Tailwind dependencies for the installation mode you selected. If you're using the npm-based option, make sure Node.js and npm are available to the terminal. On some Windows systems, the npm executable is exposed as npm.cmd; Django-Tailwind's settings documentation explains how to set NPM_BIN_PATH if Django cannot locate it.
Step 5: Include Tailwind in your base template
Django templates usually share a base layout. In the <head> of your base.html, load the Tailwind template tags and include the generated stylesheet:
{% load static tailwind_tags %}
<!doctype html>
<html lang="en">
<head>
    <meta charset="utf-8">
    <meta name="viewport" content="width=device-width, initial-scale=1">
    <title>{% block title %}My Django Project{% endblock %}</title>

    {% tailwind_css %}
</head>
<body>
    {% block content %}{% endblock %}
</body>
</html>
If you already have a base.html, you usually don't need to replace it with the generated one. Add {% load static tailwind_tags %} and {% tailwind_css %} to your existing layout, preserving your current blocks, metadata, scripts, and navigation.
Any child template that extends this base template can now use Tailwind classes.
Step 6: Use Tailwind classes in a Django template
For example, create or update a page template:
{% extends "base.html" %}

{% block title %}Dashboard{% endblock %}

{% block content %}
<main class="min-h-screen bg-slate-50 px-4 py-10 sm:px-6 lg:px-8">
    <section class="mx-auto max-w-5xl">
        <div class="rounded-2xl bg-white p-6 shadow-sm ring-1 ring-slate-200 sm:p-8">
            <p class="text-sm font-semibold uppercase tracking-wide text-indigo-600">
                Overview
            </p>

            <h1 class="mt-2 text-3xl font-bold tracking-tight text-slate-900">
                Welcome back
            </h1>

            <p class="mt-3 max-w-2xl text-slate-600">
                Review your latest activity and continue where you left off.
            </p>

            <a href="{% url 'admin:index' %}"
               class="mt-6 inline-flex items-center rounded-lg bg-indigo-600 px-4 py-2.5
                      text-sm font-semibold text-white transition hover:bg-indigo-700
                      focus:outline-none focus:ring-2 focus:ring-indigo-500 focus:ring-offset-2">
                Open admin
            </a>
        </div>
    </section>
</main>
{% endblock %}
The example uses Django template inheritance and URL reversing alongside Tailwind utilities. Replace the example text and link with routes and content from your own project.
Step 7: Start the development workflow
Django-Tailwind provides a command that can run its development workflow:
python manage.py tailwind dev
Depending on your project setup and installed extras, this starts the Tailwind build/watch process alongside Django's development server. Alternatively, run the Tailwind watcher separately:
python manage.py tailwind start
Then, in another terminal, start Django:
python manage.py runserver
Keep the development watcher running while you edit templates or styles. Tailwind needs to scan your source files and rebuild the CSS when relevant class usage changes.
Optional: browser reload during development
Django-Tailwind's recommended development setup can include django-browser-reload. If you use it, follow the package's current instructions to add it only when DEBUG is enabled, configure its middleware, and include its URL pattern only in development. Do not expose development-only reload endpoints in production.
Step 8: Make sure Tailwind scans your templates
Tailwind generates CSS based on class names it detects in source files. With Django-Tailwind v4, the generated stylesheet commonly contains an @source directive that tells Tailwind where to scan.
For example:
@import "tailwindcss";

@source "../../../**/*.{html,py,js}";
The correct path depends on where your stylesheet sits relative to your Django project. The default generated path is intended to cover a standard project structure, including templates in multiple Django apps. If your apps live under a custom directory such as src/ or apps/, confirm that the source paths include those files.
To test whether the build is seeing your templates, add a distinctive class to a template, rebuild the CSS, and check whether the expected styling appears in the browser.
Important: Tailwind may not detect class names assembled dynamically at runtime. For example, constructing a class like text-{{ color }}-600 can prevent the scanner from seeing the complete class name. Prefer explicit mappings:
{% if status == "success" %}
    <span class="bg-green-100 text-green-800">Success</span>
{% elif status == "warning" %}
    <span class="bg-amber-100 text-amber-800">Needs review</span>
{% else %}
    <span class="bg-slate-100 text-slate-800">Pending</span>
{% endif %}
This gives the scanner complete class names to detect and keeps the allowed styles clear.
Step 9: Build CSS for production
Before deploying, run the production build command documented by your Django-Tailwind version:
python manage.py tailwind build
The generated stylesheet is placed in the theme app's configured static-file location. Django's static-file configuration must then collect and serve the compiled CSS in your production environment. For a typical deployment, that includes checking STATIC_URL, STATIC_ROOT, and your deployment's collectstatic process.
Do not rely on a development watcher to compile assets on a production server. Build the CSS as part of your deployment or release process, and verify that the generated stylesheet is present and served correctly.
A note about the Tailwind Play CDN
Tailwind's browser/Play CDN is useful for quick experiments, but the official Tailwind documentation says it is intended for development and not production. For a real Django project, use a build workflow that generates a CSS file you can deploy.
Common problems and how to fix them
| Problem | Likely cause | What to check |
|---|---|---|
| Tailwind classes have no effect | CSS isn't included or wasn't rebuilt | Confirm {% tailwind_css %} is in the base template and the build succeeds |
| Some classes work but others don't | Source scanning misses a template or dynamic class | Check the v4 @source paths and use complete class names |
tailwind init fails |
Required setup extras aren't installed | Install the documented cookiecutter extra, then retry |
| npm cannot be found | Node/npm isn't installed or the executable path differs | Check node --version and npm --version; configure NPM_BIN_PATH if needed |
| Styles work locally but not after deployment | The production CSS wasn't built or collected | Run the production build and verify Django static-file deployment |
| Old configuration instructions don't match | The project uses a different Tailwind major version | Follow documentation for the installed version; v3 and v4 use different source configuration conventions |
When debugging, make one change at a time. First confirm the compiled stylesheet loads, then confirm the relevant class is present in the generated CSS, and finally inspect the browser's developer tools for conflicting styles or caching issues.
Should every Django project use Tailwind CSS?
Not necessarily. Tailwind is a strong option when you want to build a custom interface and prefer utility classes over writing many separate CSS rules. It can work especially well for dashboards, portals, SaaS products, and custom business applications.
However, if your project is mostly a conventional Django admin site, a small brochure website, or an application that already has a mature design system, adopting Tailwind may not be worth the additional build step. Consider the team's familiarity, the project's styling needs, and the cost of maintaining frontend tooling.
For a larger application, keep templates readable by extracting repeated UI into Django includes or reusable components. Tailwind classes can become difficult to maintain when every page repeats long, slightly different class strings.
Practical checklist
Before considering the integration complete, confirm that:
tailwindand your theme app are inINSTALLED_APPS.TAILWIND_APP_NAMEmatches the theme app's name.- Tailwind dependencies install successfully.
- Your shared base template includes
{% tailwind_css %}. - Tailwind's source paths cover the templates and files that contain class names.
- The development watcher rebuilds styles when you make changes.
- Dynamic styling uses explicit class mappings rather than incomplete class fragments.
- The production CSS build succeeds and the stylesheet is collected and served.
- Development-only tools and endpoints are disabled in production.
Final thoughts
Using Tailwind CSS with Django gives you a practical way to create polished, responsive server-rendered interfaces while keeping Django responsible for the backend. The smoothest setup is to choose a compatible Tailwind version, keep the theme app as the central styling entry point, include the compiled stylesheet in your base template, and verify that every relevant template is scanned during the build.
Start with one page, confirm the development and production workflows, and then extend the approach across the rest of your application.
If you're planning a larger Django project, you can also explore Sajid Kalam's projects to see examples of application work, or get in touch to discuss a project.